
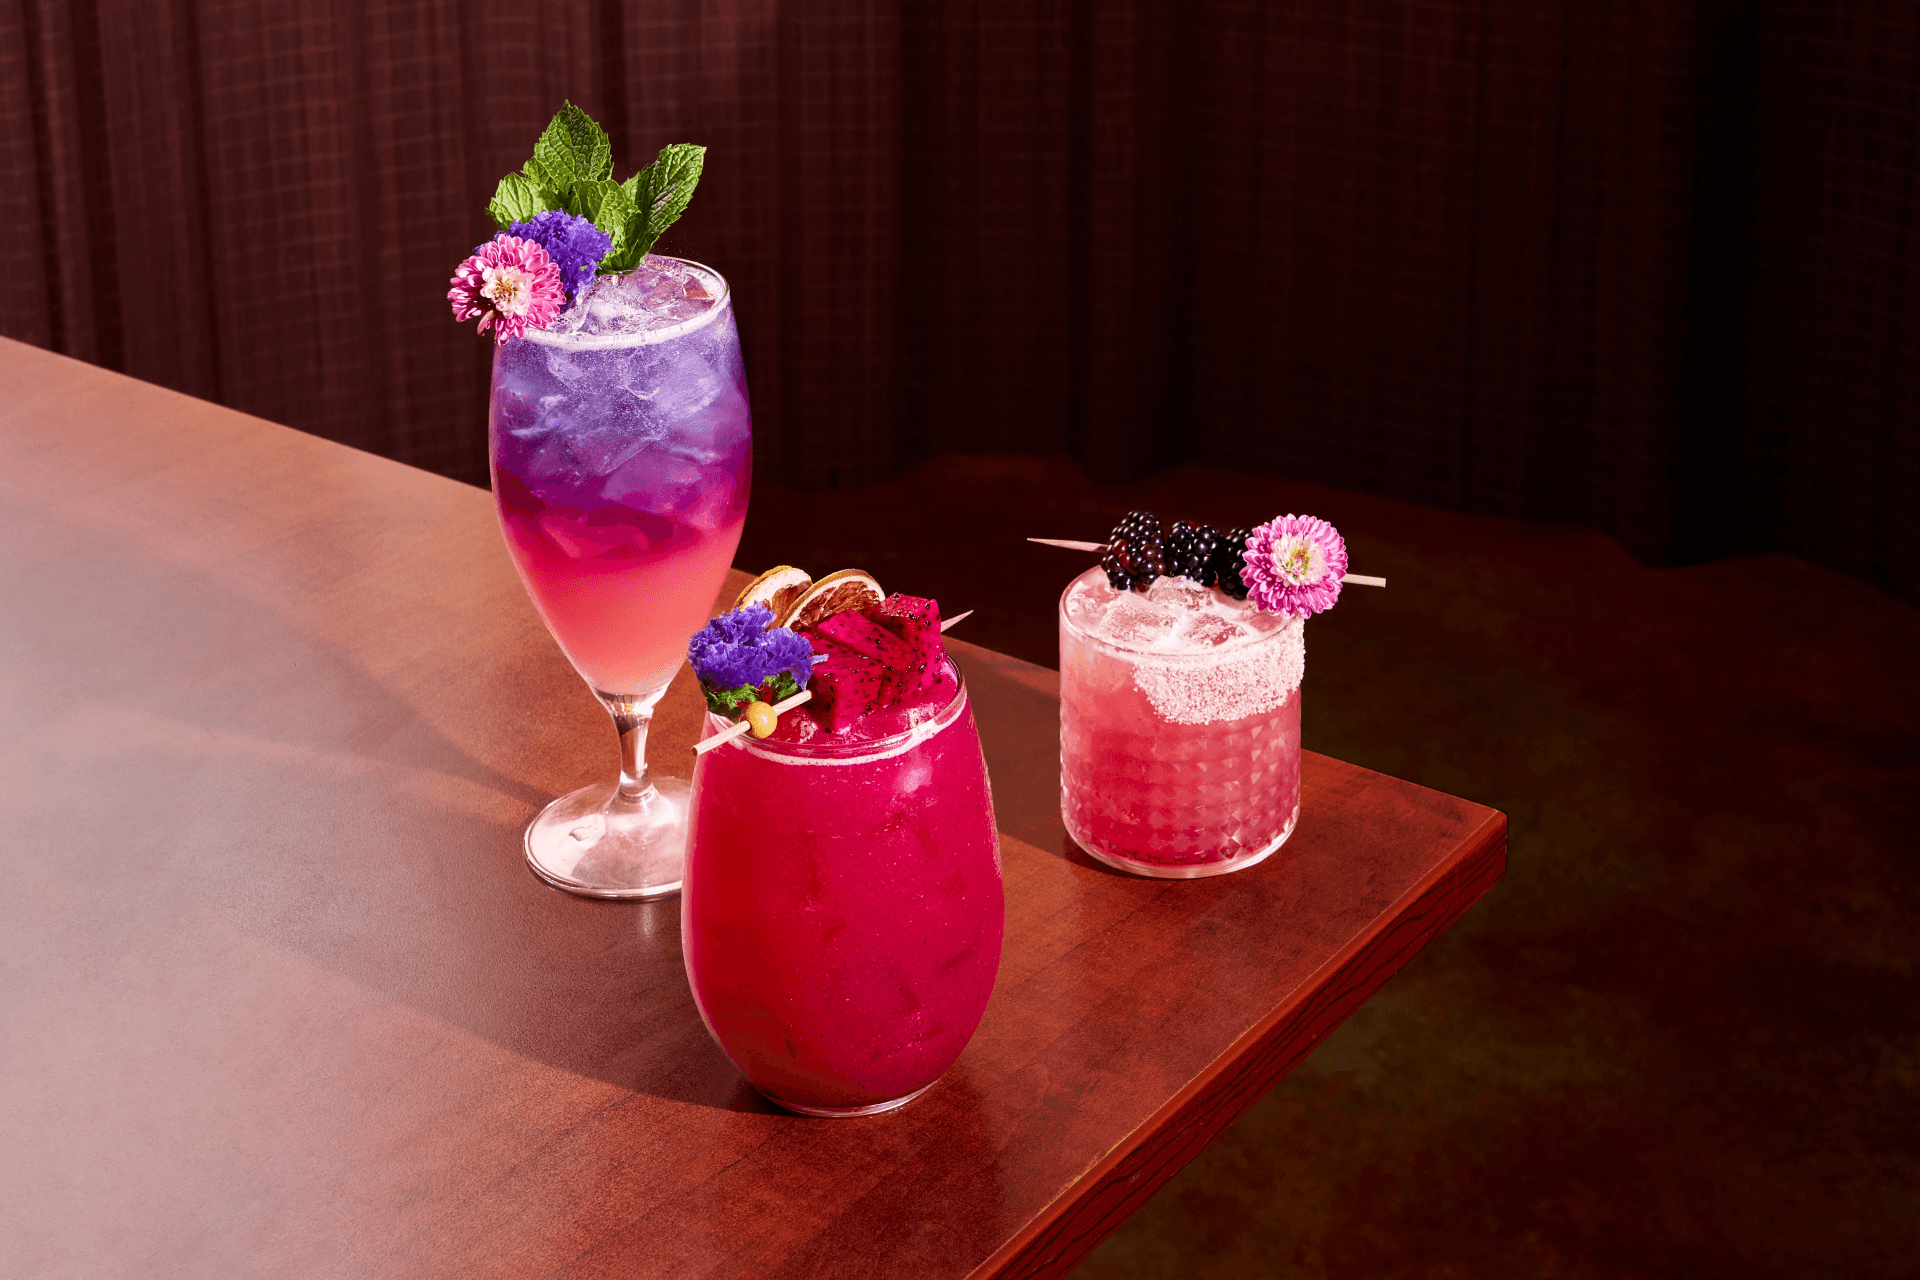
After years of doing drinks photography, I can tell you that lighting is everything. You might have a refreshing drink or the coolest can design, but if the lighting in your beverage photos isn’t right, people will just scroll past.
When I collaborated with brands like SmoothSail Sake, Elmhurst 1925, Jade Leaf Matcha, and Miss Boba, I saw firsthand how the right lighting could turn a simple drink into something irresistible. It’s not just about making the photo look good—it’s about making people want to reach right through the screen for a taste.
And no, you don’t need a fancy studio for this. Below are the simple tricks I use to make everyday drinks look great. Grab your favorite drink and try them out.
1. Let the Sun Do the Work
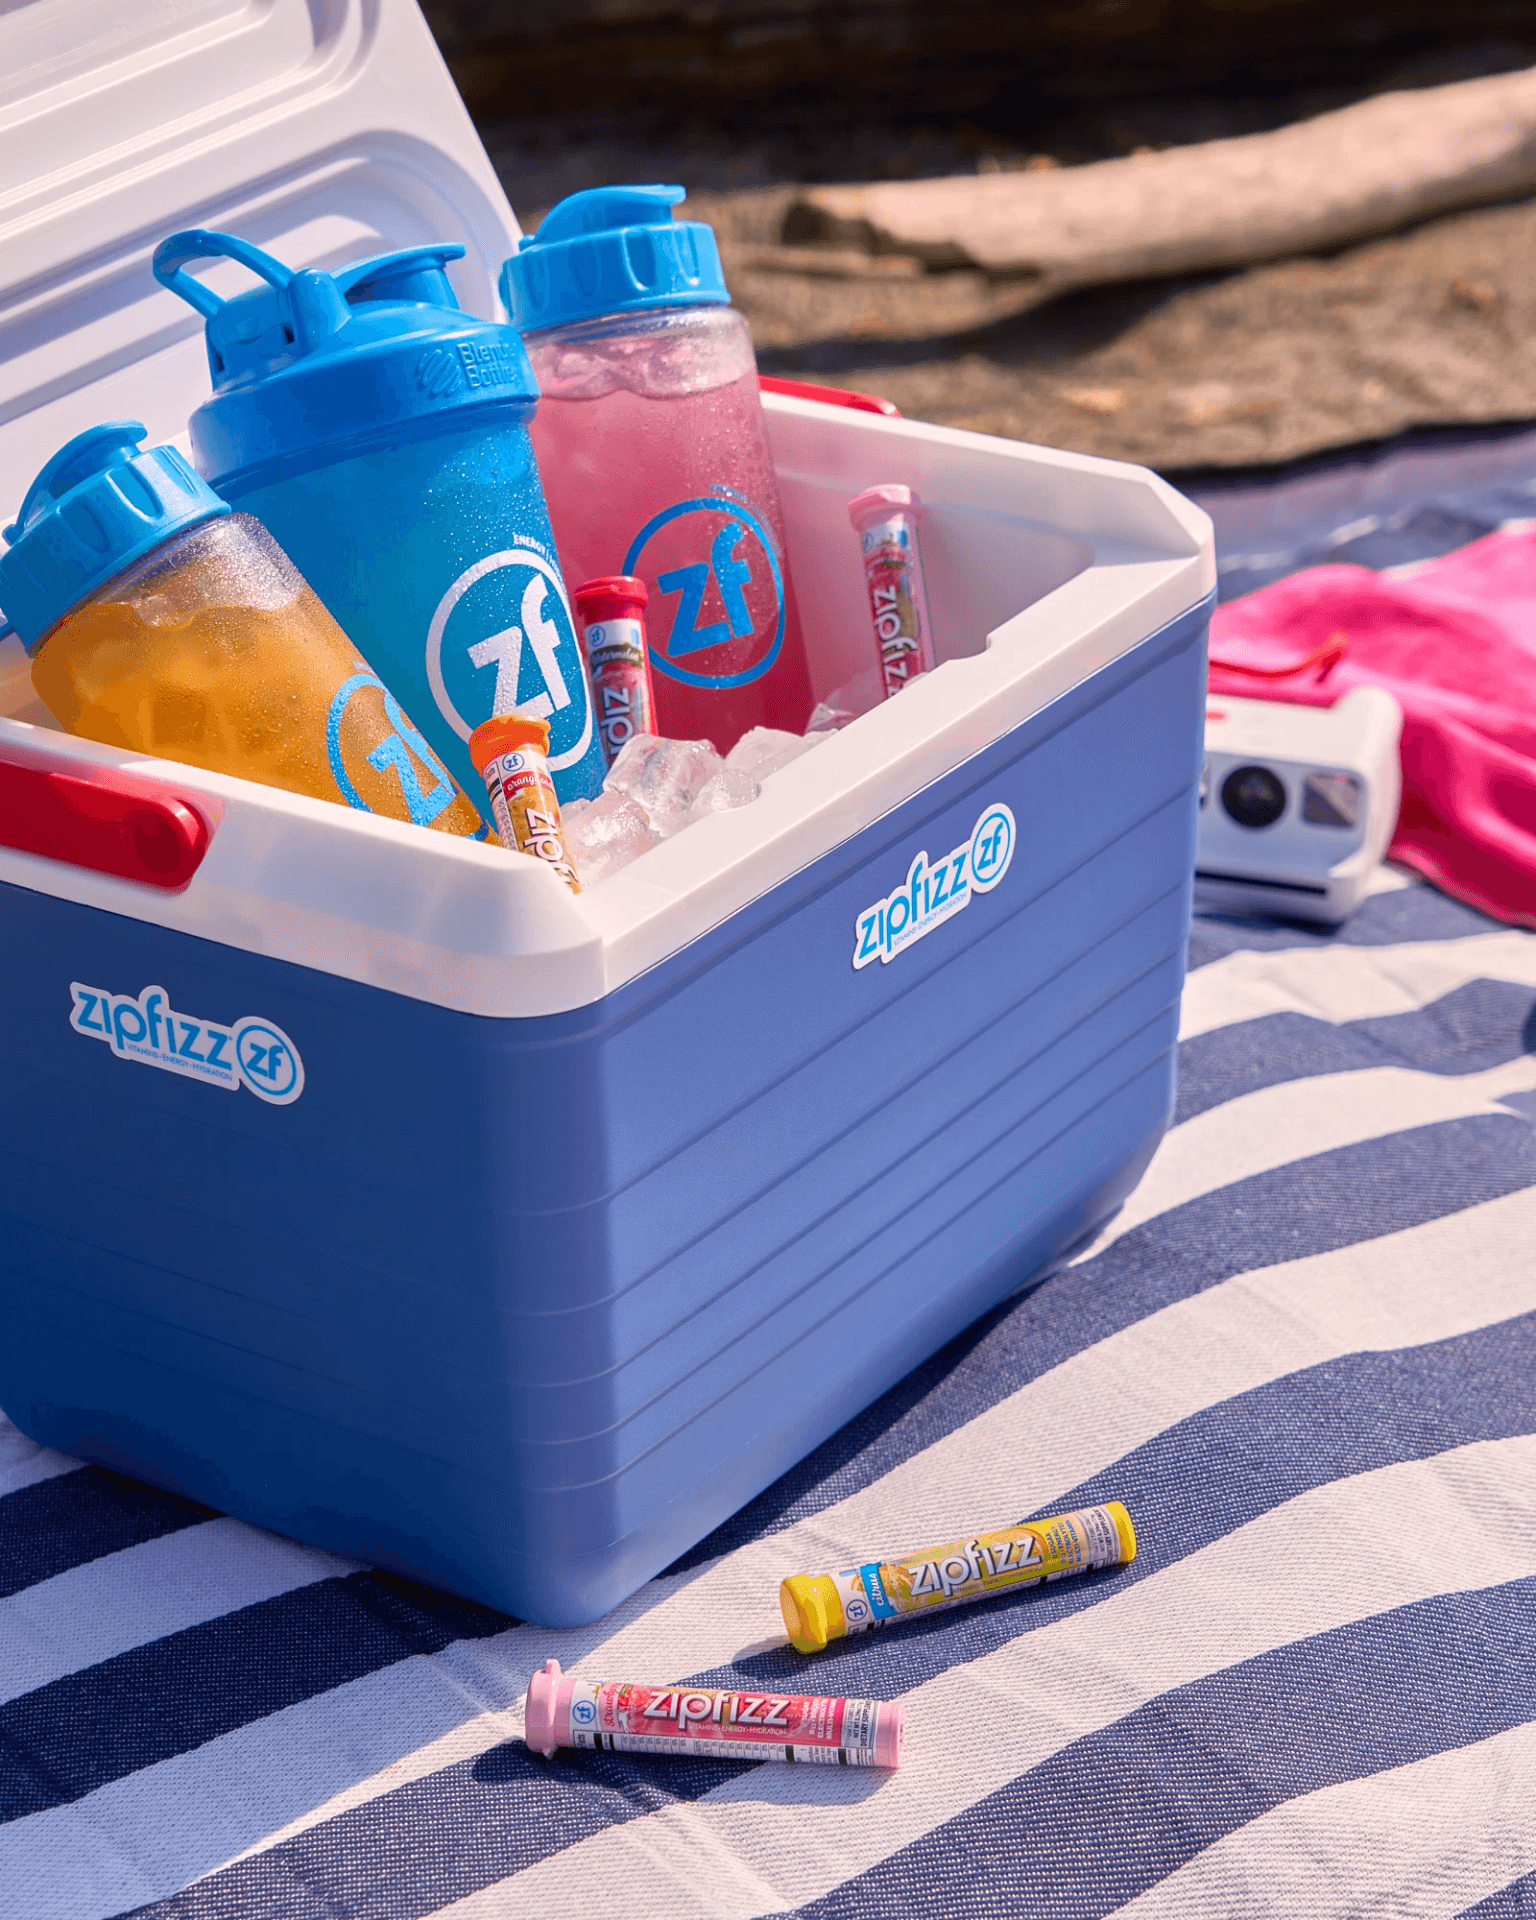
Let’s start with the easiest tool you already have: sunlight.
I like to set drinks by a big window and let that soft sunlight work its magic. Real sunlight just makes a drink look so inviting. I often want to grab a sip right after taking the shot.
The best time to shoot?
Morning or late afternoon, when the light is soft and flattering. It helps give the product or food a nice soft and even glow. It is typically one of the easiest light styles to start with and learn.
I usually avoid harsh midday sun unless I’m chasing a bold, dramatic look.
2. Give Your Drinks That Glow Factor
Once you’ve mastered natural light, it’s time to play with direction. Ever wonder how beer commercials make every glass look like pure liquid gold? Their secret trick is backlighting.
I like to place a light source behind the glass, and suddenly, your drinks look vibrant and full of life. Plus, backlighting is a total game-changer for darker drinks like coffee or cola. It brings out textures you might not even notice otherwise.
3. Bounce It Back for Brighter Photos
Lighting isn’t just about its direction. It’s also about how you use it. I often use a white foam board or even a sheet of printer paper across from the light. This easy trick bounces light, softens shadows, balances highlights, and adds shine to your drink. You just need a bit of creativity.
When I shot for SmoothSail, bouncing the light was my secret weapon for getting that glossy finish on their cans. The photos looked so fresh that people actually messaged me, saying they wanted to crack one open on the spot.
4. Set the Mood with Side Lighting
If backlighting makes drinks glow, side lighting gives them attitude. This technique is my favorite trick for moody, dramatic shots. It adds depth and contrast, which is perfect for a glass of wine, a dark roast coffee, or a cocktail that deserves the spotlight.
A little editing can make your product photos look magazine-worthy. This works well when you want your brand’s content to feel polished and timeless.
5. Don’t Sleep on Editing Your Photos
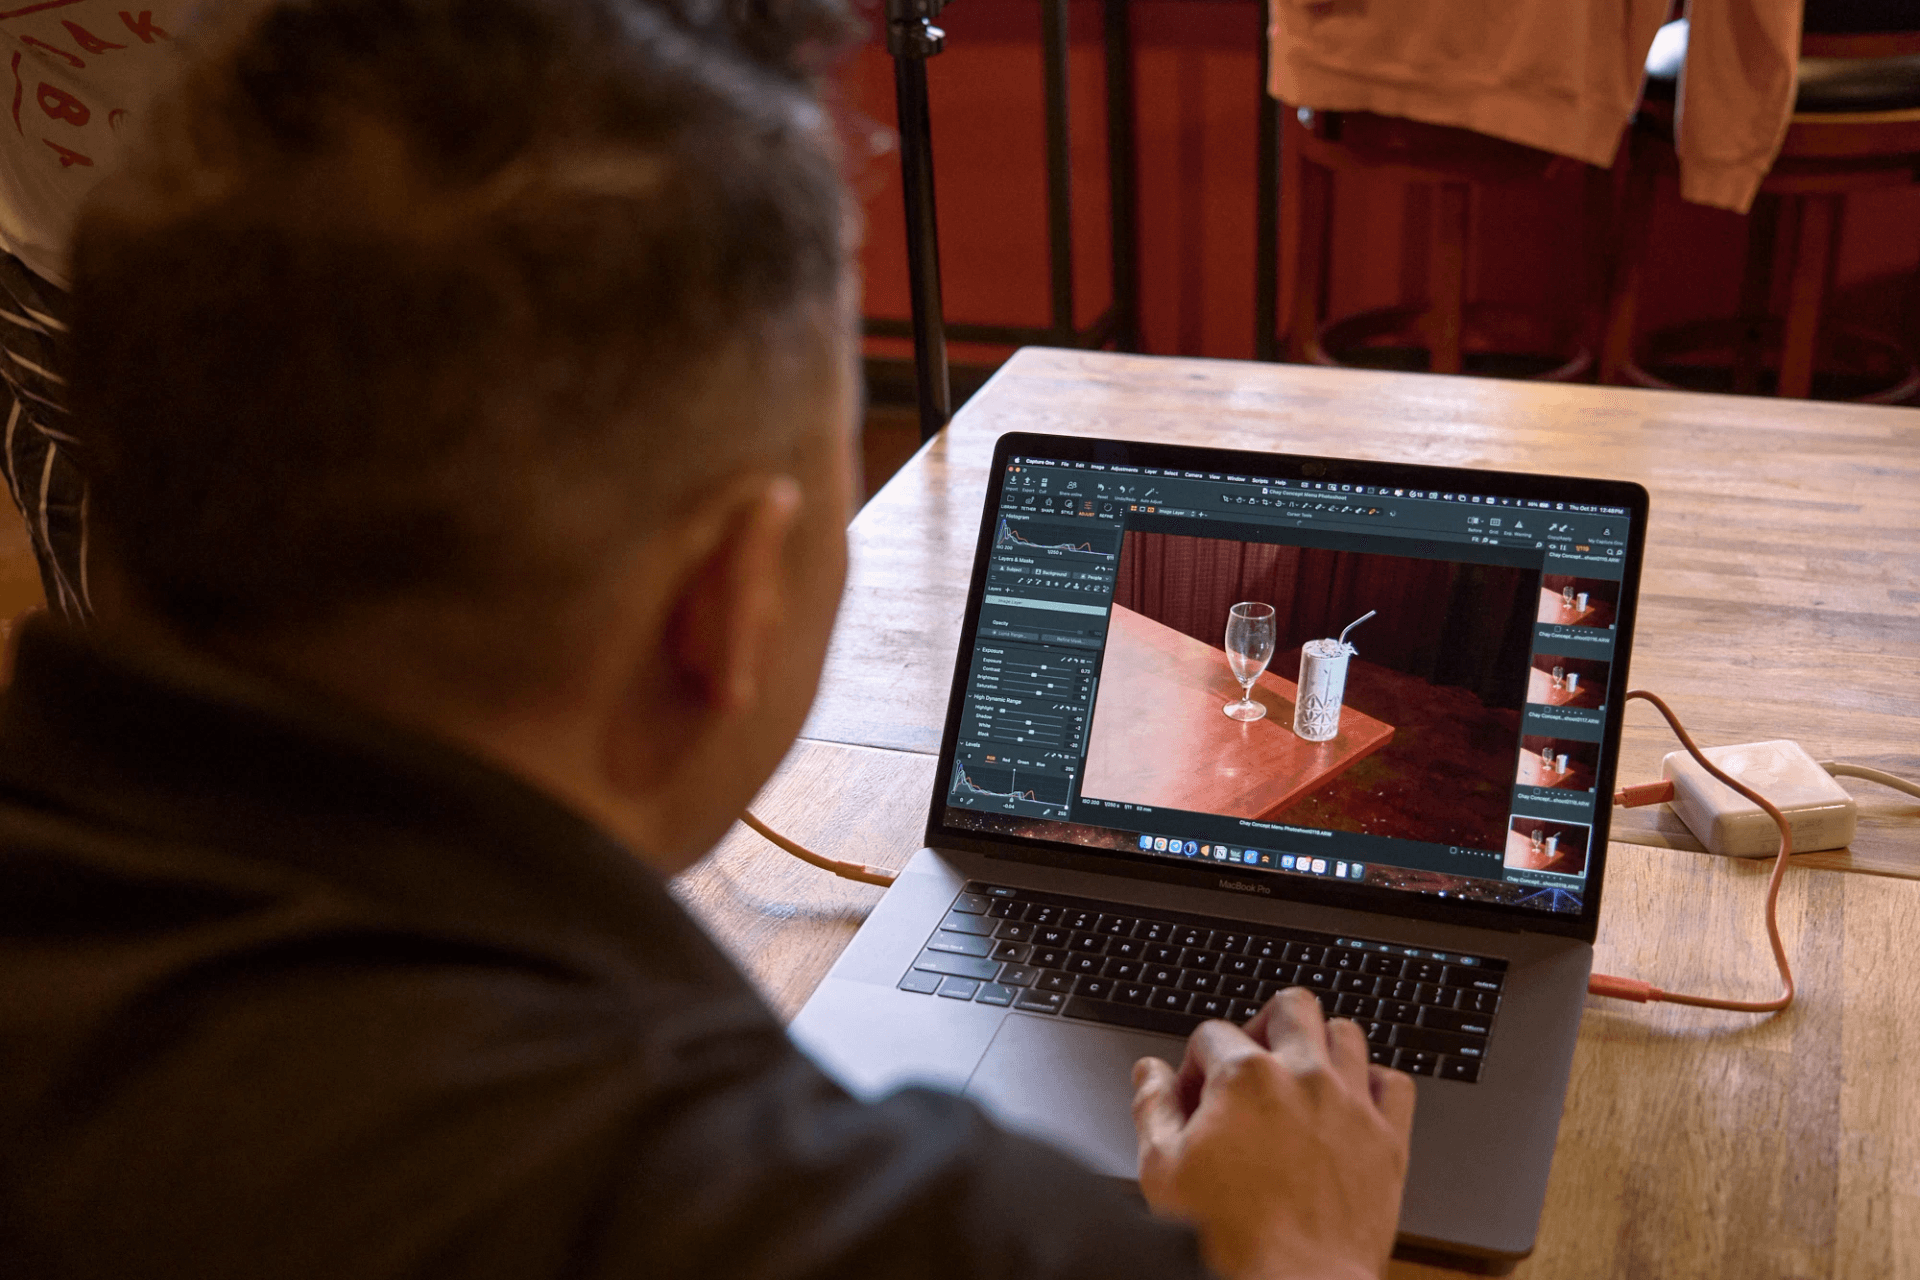
A lot of people forget about editing after taking the photo. But snapping the picture is just the start. Editing is where your images really come to life.
When I edit beverage photos, I adjust highlights, reflections, and sharpness to make each shot look as tempting as the real thing. Don’t skip this step—it’s what makes your photos stand out.
If you’re hungry for more photo editing inspiration, I always recommend checking out Adobe’s tutorials—they’ve got tons of extra tips to keep your creative juices flowing.
Final Sip: Beverage Photos That Make People Thirsty
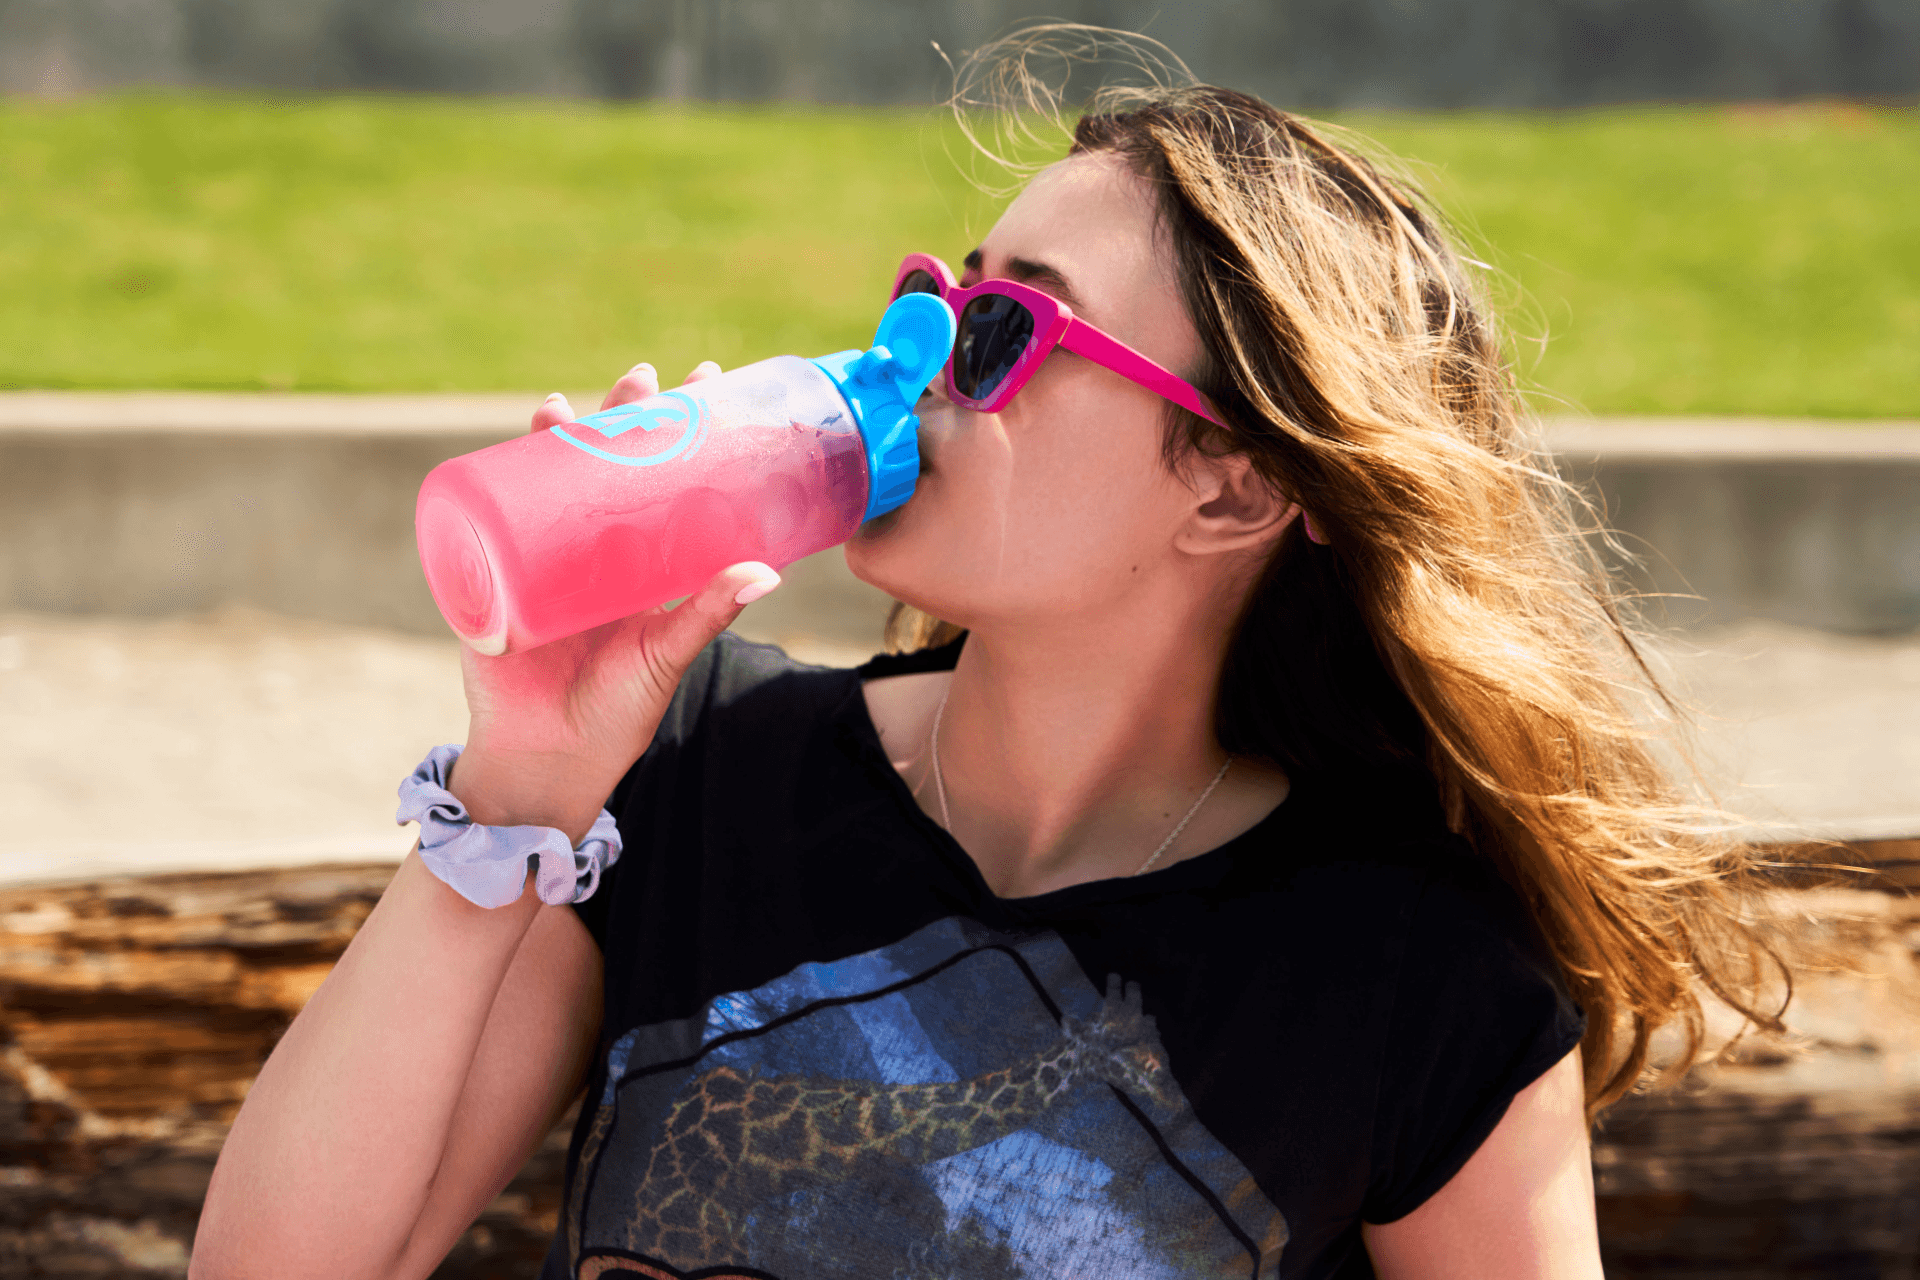
You don’t need expensive equipment or complex setups for great beverage photos. It’s all about capturing that moment that makes someone thirsty. With some sunlight, a simple light bounce, and a good edit, your photos can really stand out.
If you want to take your food and drink photography to the next level, I’m here to help. At MisaHungry Media, I do more than just take pictures. I work with CPG brands to create stories that grab attention and make people want to enjoy every sip.
Contact me today, and let’s make something that leaves your audience thirsty for more.
