
5 Product Photography Tips to Get More Attention and Boost Sales

You might have already seen photos of various products on eCommerce website and social media. These amazing photos help to attract customers. So, what are the things you need to take care of while capturing these product photos? Let's have a look into the product photography tips down below.
1. Lighting is the key element

When it comes to product photography, lighting is the key element. You can use natural light or artificial light.
A high quality product shoot demands high quality lighting as well. You'll need to use appropriate light modifiers to ensure that a soft light falls on the product with the right intensity.
If you plan to use natural lighting, you can consider using diffusers to diffuse light. It will help to avoid harsh shadows.
You can get more control over the lighting if you go for artificial lights. You will require at least two lights with soft boxes to be kept on either side of the product. One light will serve as the key light and other the fill light.
You need to control the intensity of these two lights to get the desired lighting on the product.
2. Pick the right camera
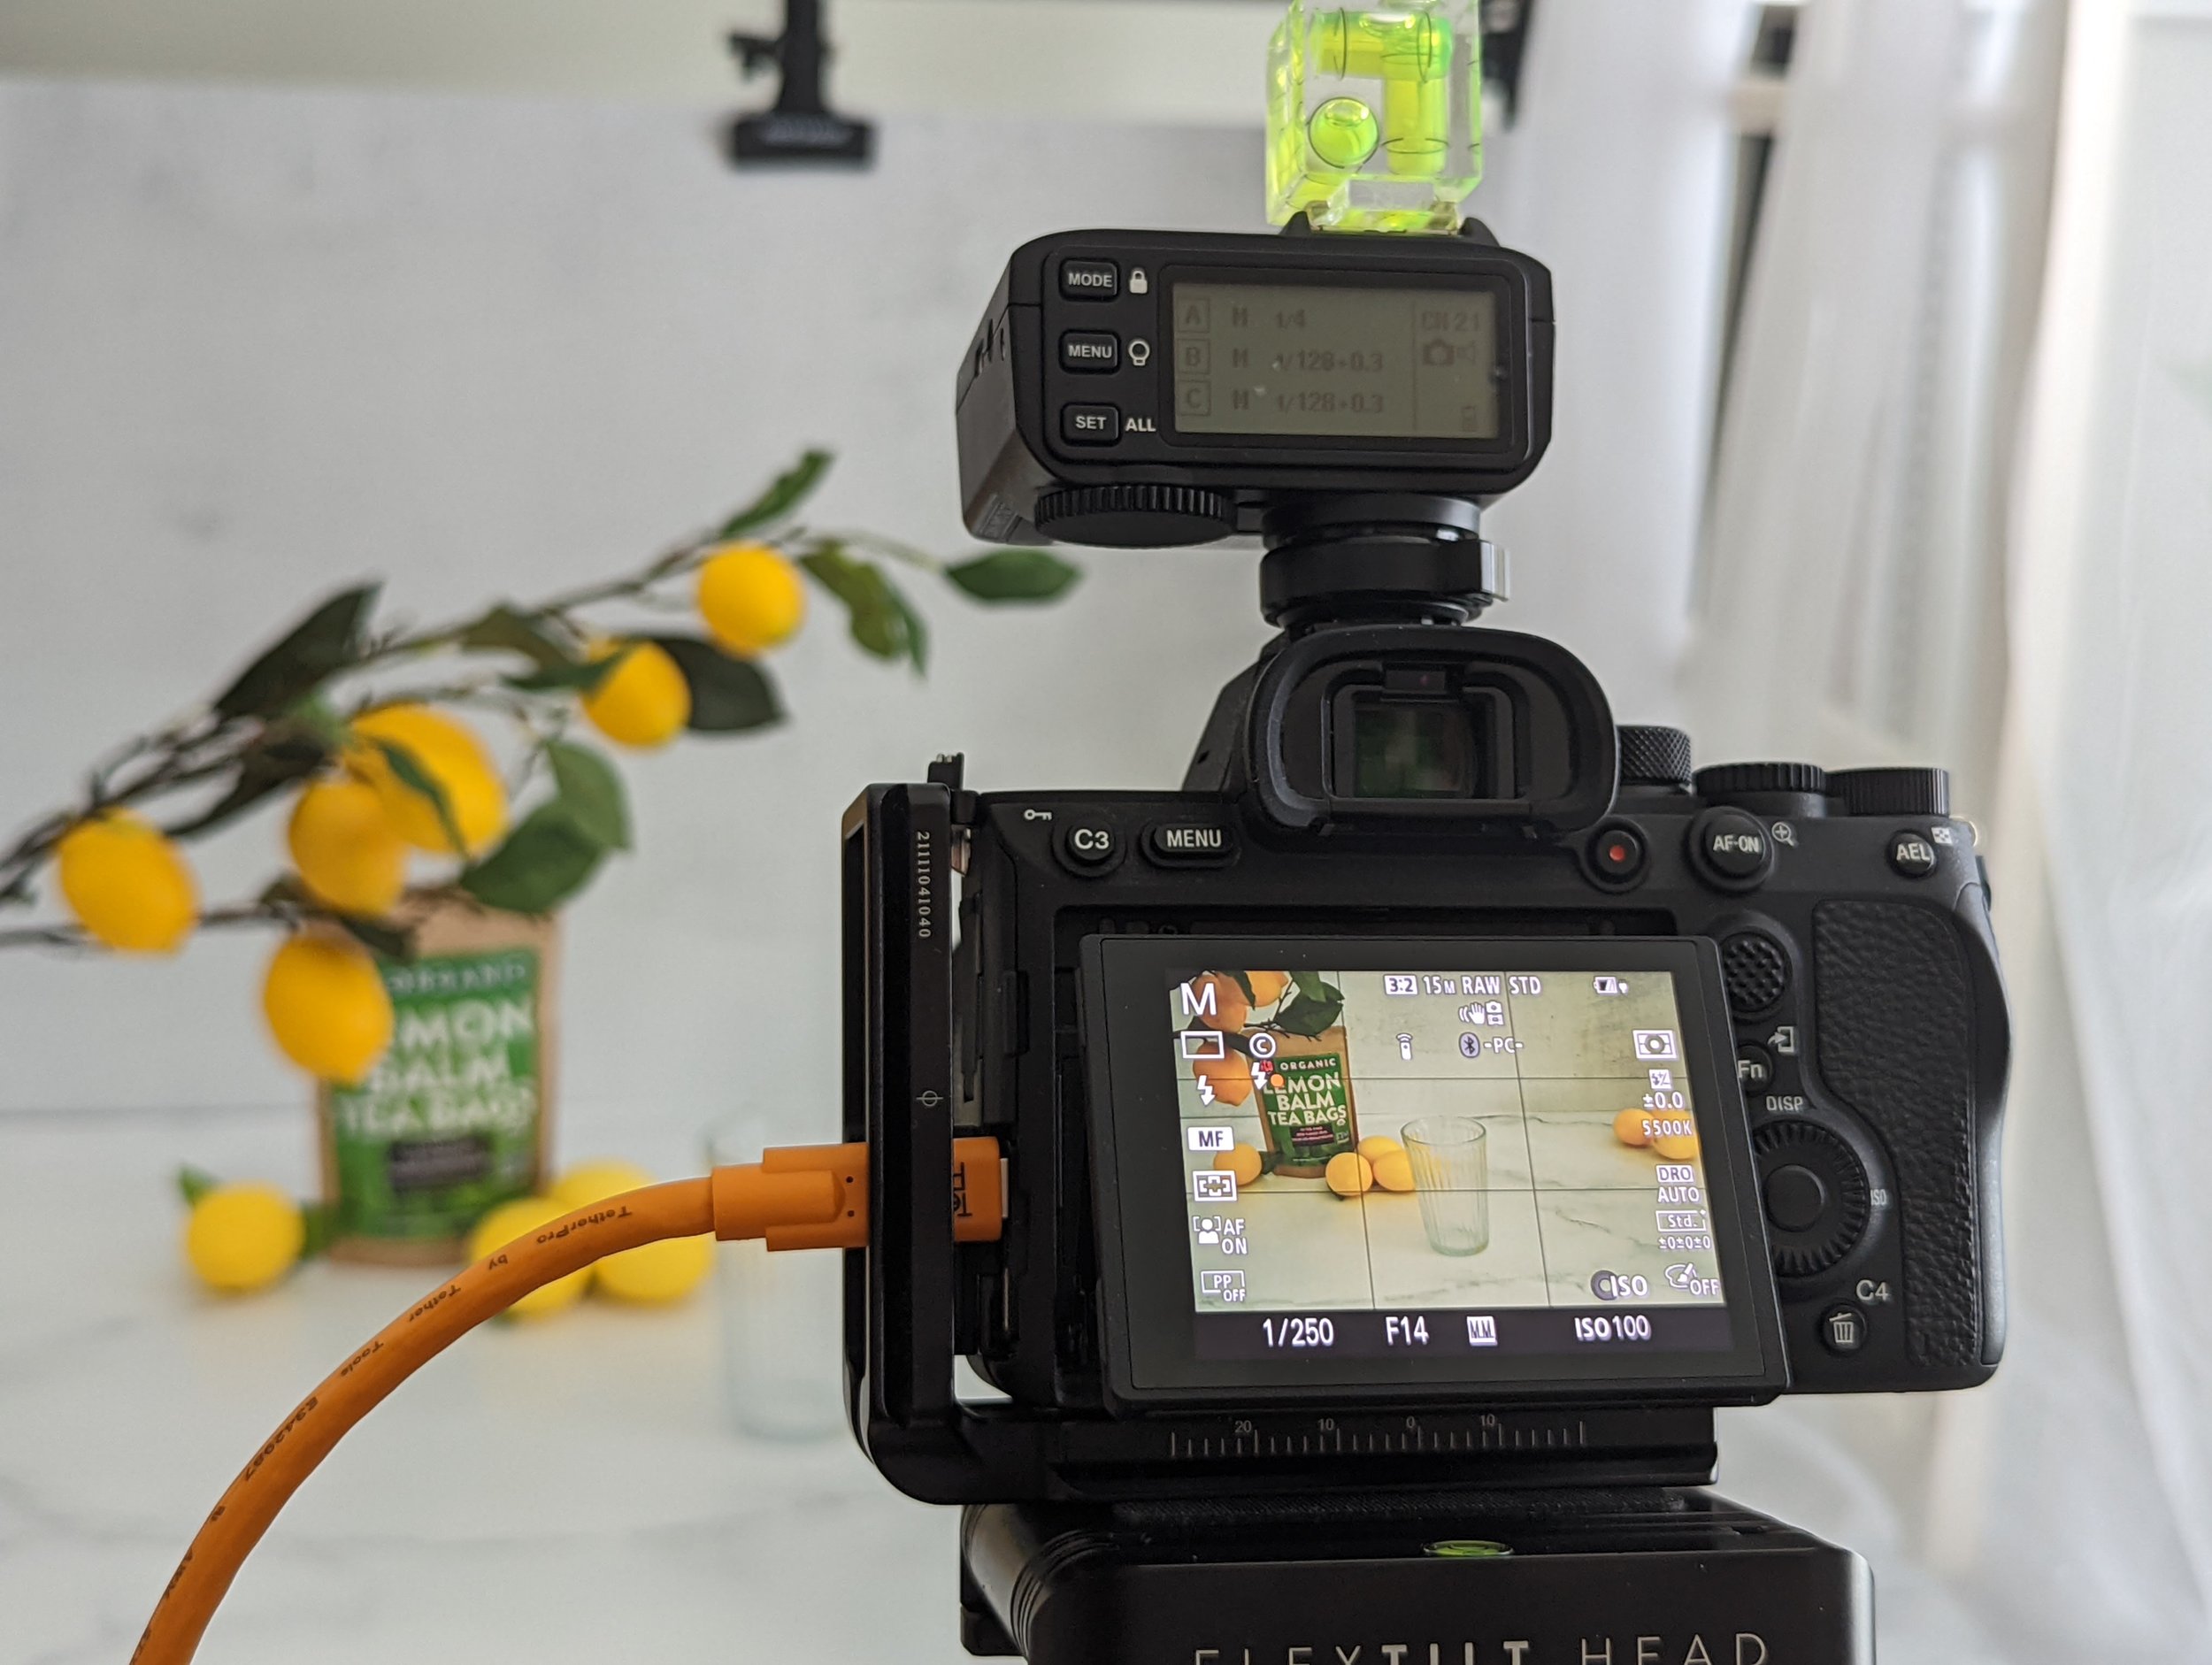
If you want to capture high quality product photos, use a high quality camera such as a DSLR or Mirrorless camera. These will typically give you the best results with a high image quality. If you're in a pinch, most smartphones nowadays can take some quality product photos. But just like the first part, lighting equipment is very essential to separating an amateur from professional product photos.
A high quality camera allows you to use different lenses for different types of product photos. Professional photographers use a variety of lenses including a macro lens for product photography to capture more fine details of the product.
Another advantage of using a mirrorless or DSLR camera is its ability to shoot in RAW format which provides better control of the lighting, colors, and detail of the image. It will help you to edit the product photo in a better way during post production.
3. Background matters for product photography

You need to get the right background for your product photo shoot. The background must complement the product or help tell the story of the product.
You can go for a light or dark background, depending on the product, and your brand style. The most commonly used backdrop for product photos will be the plain white background. These are very popular and I'm sure you would have already seen such product pictures on Amazon and other e-commerce websites.
It is always good to use a high quality backdrop for professional product photos. A small backdrop would be sufficient if you plan to snap product photos of small objects. You can easily clamp this backdrop and create the shooting setup.
If your product size is large, you'll need a bigger backdrop roll with appropriate stands to hold the roll.
4. Setting up the product

This is where you'll need to set up your product for the photoshoot. It might sound simple. But, believe me, it will consume a good amount of time. To prep your product, I would highly recommend cleaning the product and making it look as good as possible, so that editing in post will be smoother and easier and look more natural. When you're ready, you need to place the product in front of the backdrop.
There are two ways of doing it. You can place your product in a way you have sketched or visualized. The other way is to capture the same product from multiple angles. See which angle and position work the best for the shoot. To save the most amount of time, I recommend looking at similar products to get an inspiration of how you may want to place your product. Then, sketch out several ideas so when it comes to taking the photos, you'll be ready to snap and quickly move on.
You'll also need to ensure that the light falls on the product perfectly. There should not be any unnecessary shadows on the product, and that the light isn't too harsh. This is where good studio lighting is essential.
Sometimes, you may have to use glue or tape to keep the product in the desired position. Make sure that these tapes are not visible when you capture the product photos.
5. Retouch images using photo editing software

It is essential to retouch your product photos after the shoot. You should use a good photo editing software like Adobe Photoshop for retouching.
Retouching is essential to create a perfect product picture. This is where the magic happens. During this step, you will most likely have to make minor color and contrast adjustments in the picture. If there are any blemishes, you may also have to remove some unwanted objects during the retouching. There are several tools such as the healing tool or clone stamp to help clean up the image.
You may require product photos in different resolutions and aspect ratios, depending on where you plan to use them. You can set these parameters before exporting the image. The image quality required for printing a product image will be completely different from web quality. A good high quality photo for printing would be at 300ppi (pixels per inch), while a high quality image for web would be 72ppi. The lower resolution helps with faster loading time online.
If you are a beginner, you may find it difficult to make these edits. But, you can easily find good learning resources online for editing product images. You can also consider attending a basic photo editing class.
If you need help taking some high quality product photos, you may want to look into contacting a professional photographer who specializes in product photography. Their skills and dedication to this craft will ensure your product photos look amazing, and are an accurate representation to help sell your products. Contact us today to schedule a discovery call and see how we can help you.